Creating events
Events can be user events or account events. User events are created by the user while account events are associated with accounts that require a payment or pay interest. Both user events and account events can be viewed and edited on the events page. Account events are created with the account on the account page while user events are created on the events page. To create a user event just click the "Events" icon in the main menu at the top and the events page is shown. Click the "Add" button above the "User events" list to create a new event or right-click on an existing event and select "Duplicate" to create a new event based on an existing event.
Typical events would be a paycheck, rent, utilities, subscriptions or reminders. For expenses that are automatically deducted from an account or charged to a credit card it is not necessary to create an event. Those expenses can be imported. However, creating events for major spending items is recommended to make projecting account balances into the future more accurate on the schedule and cash flow pages. When these events are completed a transaction is created. If that same transaction is also imported you might think this would cause a duplicate transaction but there is logic in place to avoid creating duplicate transactions. See importing transactions for more information.
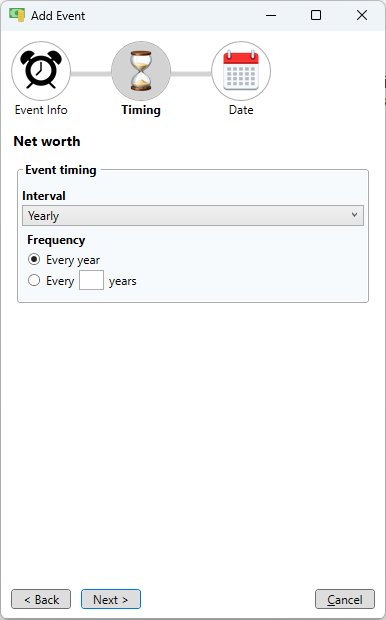
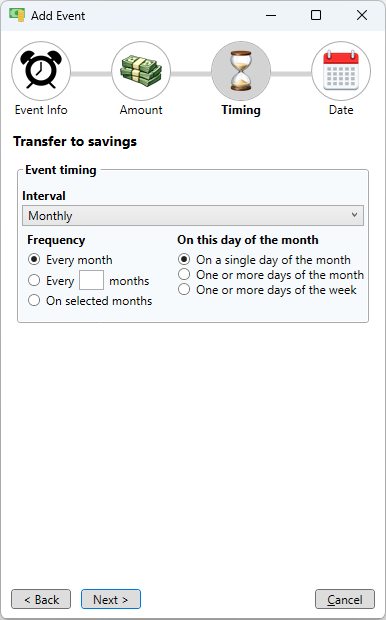
All events have an interval that defines how often they occur. This is part of the "Timing" settings for the event. The event can happen just once or it can repeat yearly, monthly, weekly or daily for repeating events. For repeating events the frequency can also be specified so an event can be set to happen every 10 days, or every 3 months or every 4 years. For weekly events specific days of the week can be specified. For monthly events specific months can be specified. Monthly events can be set to occur on one or more days of the month either by selecting one or more days of the month or one or more days of the week within each week in the month.
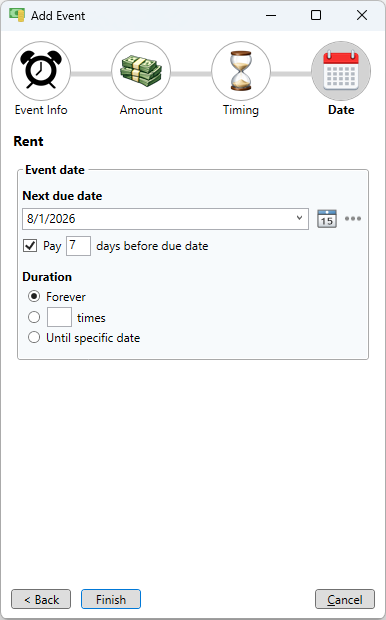
When creating events there are a couple good habits to consider. First, it is a good idea, when possible, to pay bills that are not on auto-pay well before they are due. The date shown on the schedule page is determined by the next due date in the event, but to avoid paying a bill late and getting hit with extra fees, this date can be moved back. To allow for this there is an optional field below the "Next due date" to pay the bill early, before the due date. When this option is used the date shown on the schedule page is moved back by the number of days specified. Another good practice is to hide future event instances unless they are within the preview period (which defaults to 30 days). This reduces clutter on the schedule.
Add a paycheck event
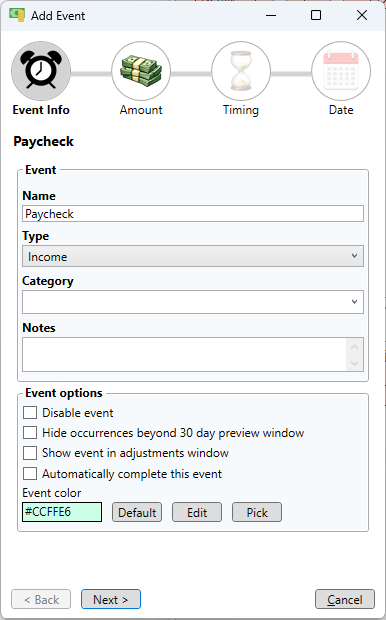
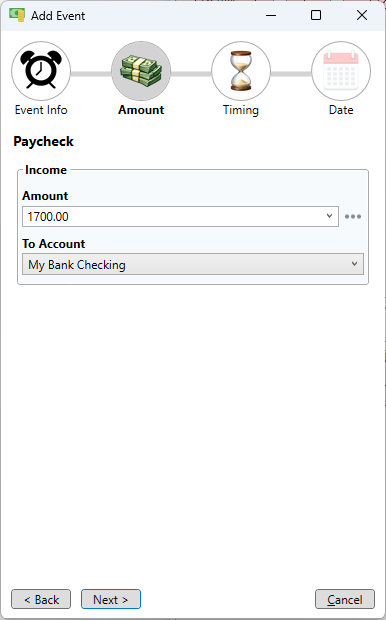
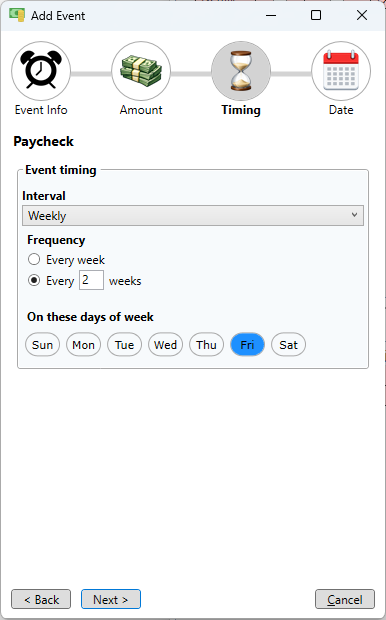
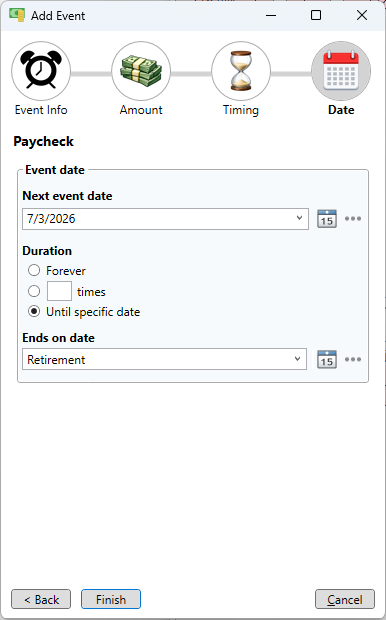
Let's start by adding a paycheck event. Click the "Add" button to open the "Add Event" window. Enter the event name and select "Income" for the type. Click the "Next" button and enter the amount and which account it goes into. If your paycheck varies you can just enter an average. When you get paid you can enter the actual amount when completing the event. Click "Next" and select the interval. In this case, the payday is every other Friday so select the weekly interval and every 2 weeks on Friday. Click the "Next" button and select the next event date, which is the next payday. The end date can also be set and here we assign the end date to an adjustable date variable we created called "Retirement". This allows us to adjust our retirement date on the adjustments window and see how it affects account balances. When done click the "Finish" button. See using values and dates for more information.
If you get paid twice a month (like on the 15th and at the end of the month) you can do that too. Just set the interval to monthly, frequency to every month, day of the month to "One or more days of the month" then pick 15 and "Last day" in the calendar. If you get a check on a specific week and day of the week every month, like the third Wednesday of every month that is easily handled in the same way, just set the day of the month to "The 3rd Wednesday of the month".
Add a retirement deposit event
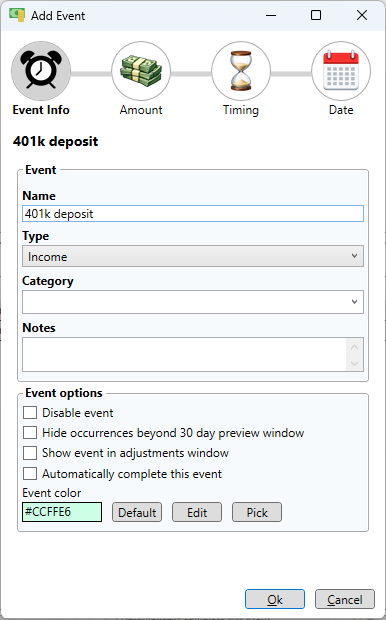
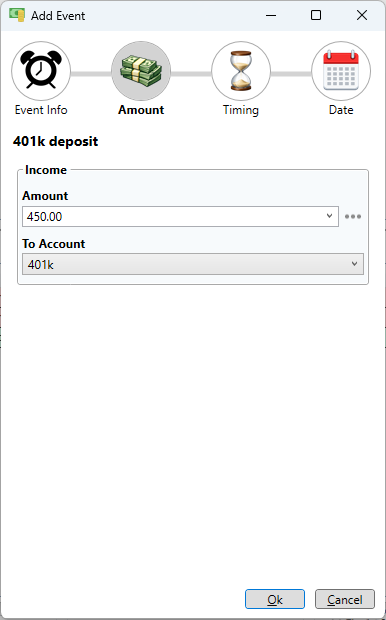
If you are working and part of your paycheck goes to a retirement account just create a separate event using the same timing as your paycheck to add that portion to your retirement account. Just right click on your paycheck event and select "Duplicate" from the context menu. This opens the "Add Event" window with a copy of the paycheck event. Change the name then click on the "Amount" button at the top. Enter the amount going to the retirement account then select the retirement account as the "To Account". Click Ok to save the changes.
Add an expense event
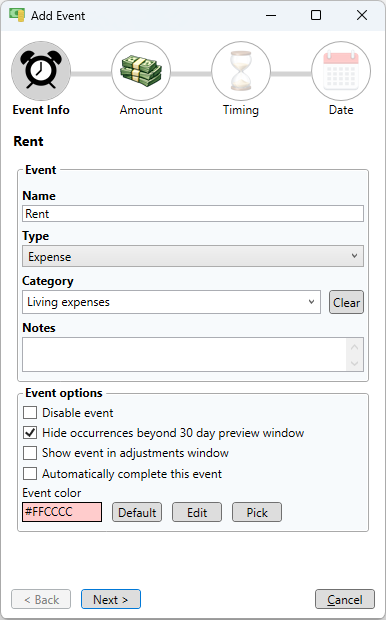
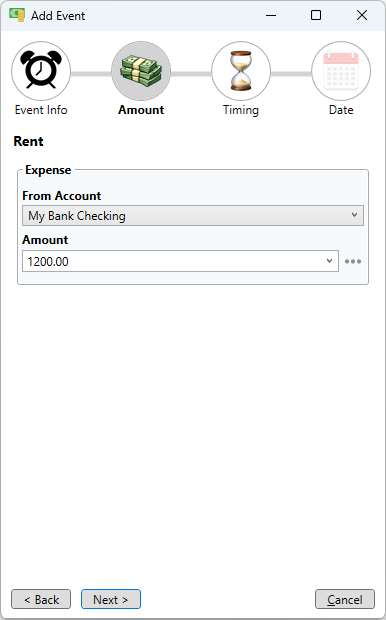
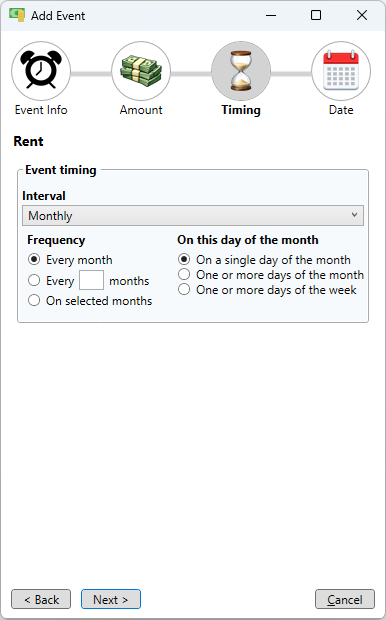
Click the "Add" button to open the "Add event" window. Enter a name for the expense and select "Expense" for the type. It's also a good idea to assign a category here so that when you complete the event the transaction has the appropriate category. Click the "Next" button and enter the amount and select the source of the payment using the "From Account" dropdown list. If the amount of the expense varies just enter an average, expected or budgeted amount. At a later time the amount of the payment can be changed by editing the event instance or while completing the event. Click "Next" to set up the timing. For monthly bills just select a monthly interval, every month on a single day of the month. Click "Next" again and enter the next due date. Click "Finish" when done.
Add a transfer to savings event
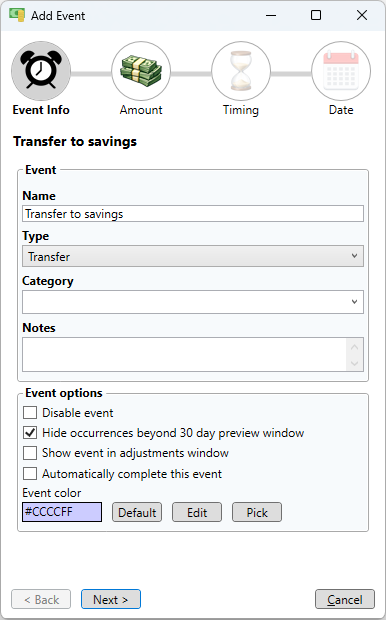
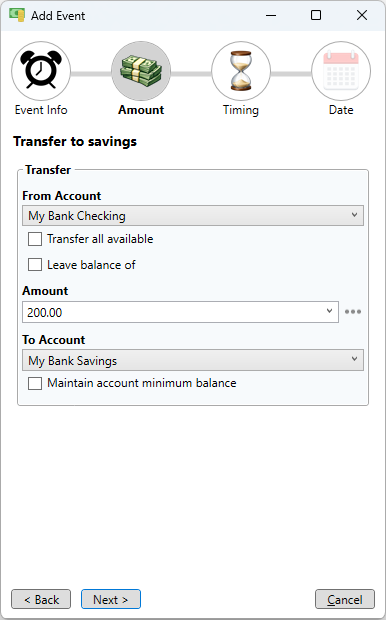
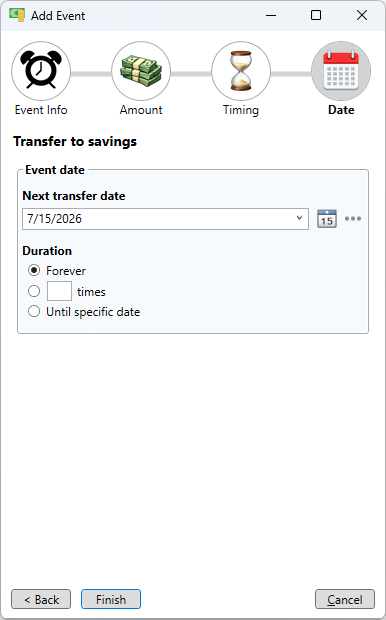
If saving for retirement or anything else you can create a transfer event to move money from your main account, like checking, to savings. Click the "Add" button to open the "Add event" window. Just enter a name for the transfer event and set the type to "Transfer". You can either set a specific amount of money to transfer or you can have the amount calculated for you by specifying an amount to leave in the main account.
Add a transfer from savings event
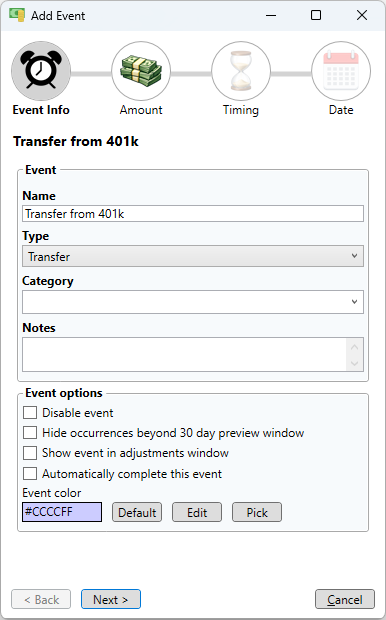
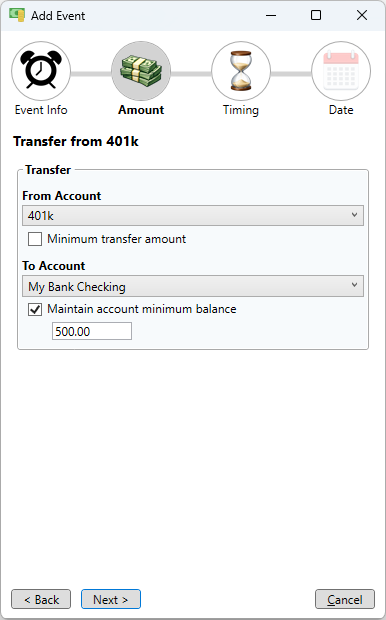
If you are retired you might need to transfer money from a savings or retirement account. To do this create a transfer event to move money from your savings or tax deferred account to your checking account. Enter a name for the transfer event and set the type to "Transfer". You can either set a specific amount of money to transfer or you can have the amount calculated for you by specifying a minimum balance to be maintained.
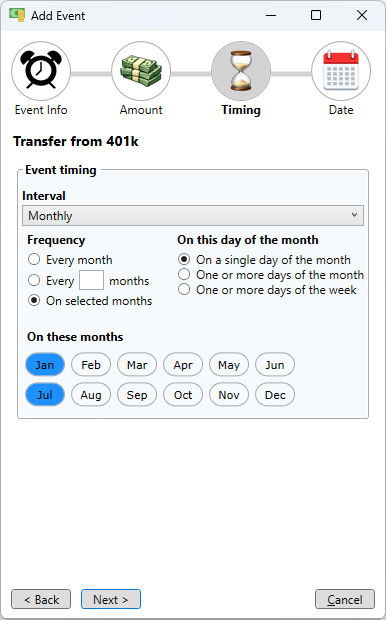
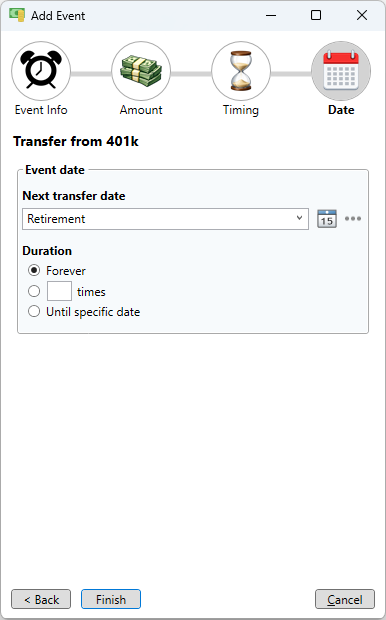
Here is an example where the amount of the transfer is calculated so as to maintain a balance of at least $500 in the checking account. Also, the transfer happens twice per year in January and July starting after the "Retirement" date is reached. Note that when money is transferred out of a tax deferred account taxes are withheld according to the "Tax withholding rate" specified in the settings for that account. For example, if you have a withholding rate of 22 percent in your 401k account and you are transferring $1950 to checking then $2500 will be pulled from your 401k with $550 withheld by your institution for taxes (2500 * 0.22 = 550).
Add a reminder event
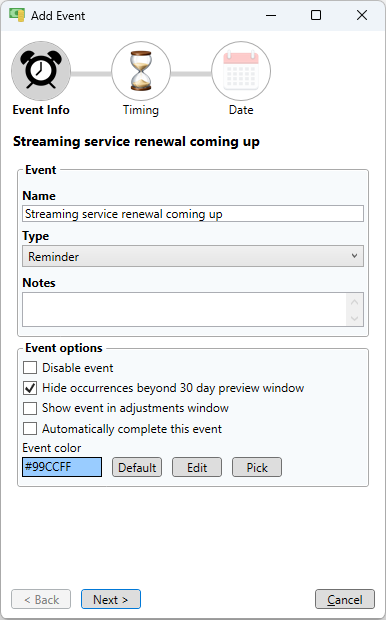
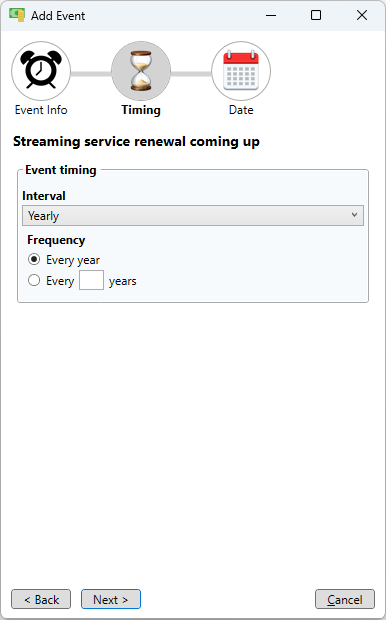
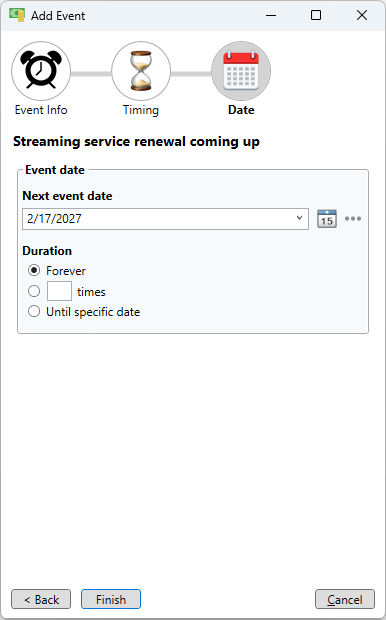
Reminder events have have no effect on anything. They are simply there as a convenience to remind you to do things related (or even unrelated) to your finances. On the "Add event" window enter a name for the reminder and select "Reminder" for the type. One very helpful reminder would be for an upcoming service renewal so you can consider canceling that service before it renews. Other common renewals would be to change the AC filters in your house, get your car serviced or fertilize the lawn.
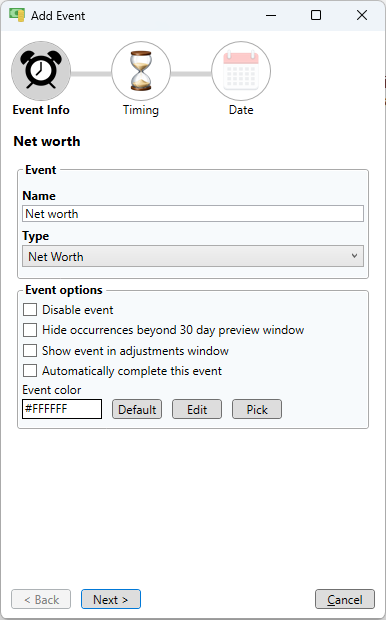
Add a net worth event
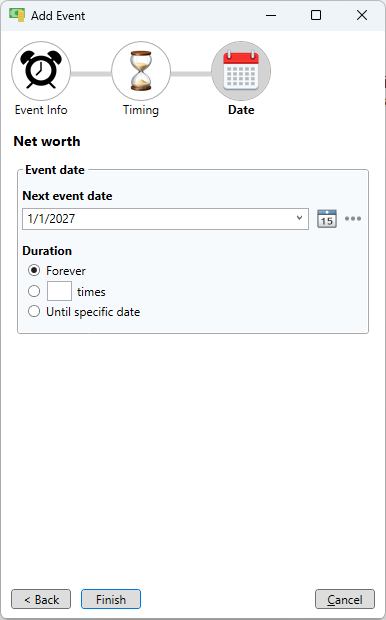
If you are interested in your net worth you can create a "Net Worth" event to show your net worth on the schedule page at any interval you choose. Only those accounts that have "Include in Net Worth calculations" will be included in the net worth shown.